Quick Start Guide

We know you can't wait to get your LivAir One up and running. This article will show you how to get started as quickly as possible. When you're ready to go deeper, we'll give you resources to take you to the next level.

This quick start guide contains the following sections:

Step 1: Bring your LivAir One online

Step 2: Connect your LivAir One to your Dashboard account

Step 1: Bring your LivAir One online

These instructions assume that you are setting up your LivAir One for the first time

  1. You will receive the device including cable and power plug by post
  2. Connect your LivAir One to the power supply with the supplied USB-C cable
  3. Connect it to the internet. Depending on which LivAir One model you have ordered, Wi-Fi and mobile radio are available.
    1. If you have ordered Wi-Fi, you will be asked to select the Wi-Fi and enter the Wi-Fi password

b. If you have the mobile device, you do not need to do anything as it automatically connects to the mobile network. Optionally, you can still log in via Wi-Fi.

4. your LivAir One will now synchronize and display all data and the higher-level score after 10 minutes.

Step 2: Connect your LivAir One to your Dashboard account

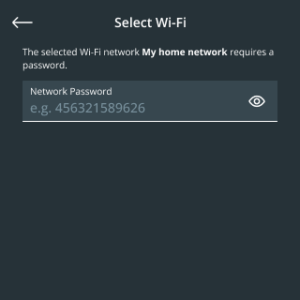
Once you have successfully connected to the internet, you can add your device to your Dashboard account.

  1. As soon as your sensors have been sent, we will provide you with dashboard access via email

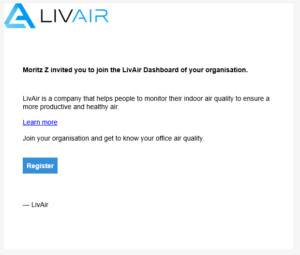
    1. If you already have the log-in or would like to create it yourself, you can do so at: dashboard.livair.io
  2. By default, the delivery address is defined as the location. Here you should decide where the device is to be placed and adjust and create locations accordingly.
    1. You can do this under the "Location" tab
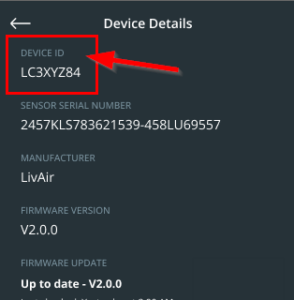
  3. Once locations have been defined and created, you can add the device with your device ID.
    1. You can do this under "Locations" or "Devices"
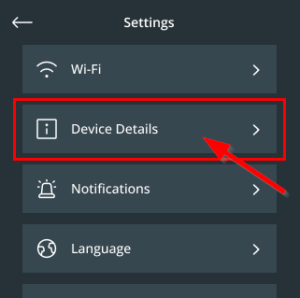
    2. You can find the device ID as follows:

Note: If you have a device without a display, the ID is located on the back of the device.

And you're done. Now you can see how the values are loaded into your dashboard in real time - have fun!

Table of contents